It is getting there… Slowly…
Porsche Motorsport Preparation Brisbane
by Promotive
by Promotive
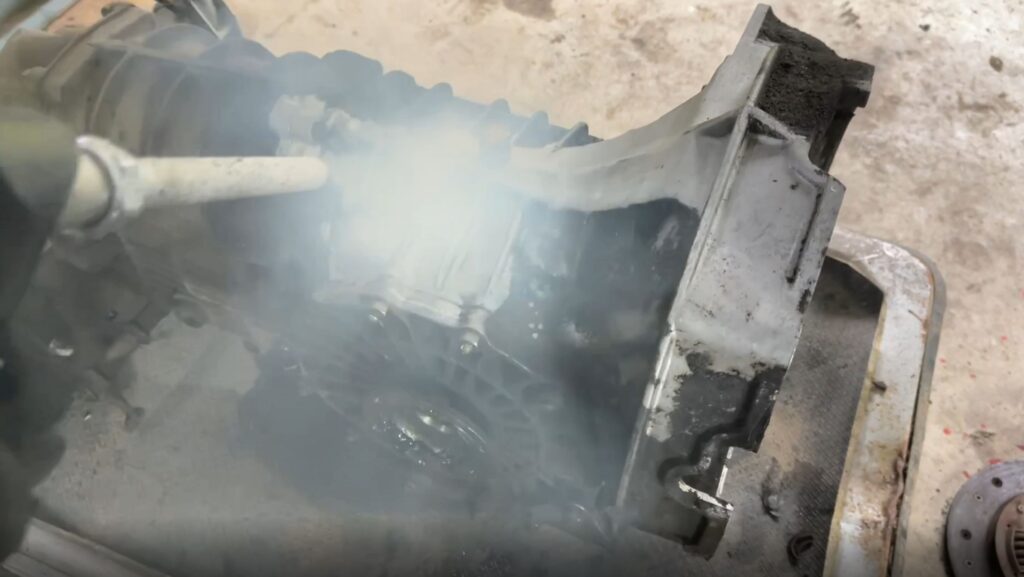
I do like things to be clean. In a perfect world nothing would ever get dirty, but when the inevitable happens it is good to have the right tool for the job.
Dry ice blasting seems to be all the rage at the moment so I grabbed a demo unit to try around the workshop to see if I need one. At the time I think I had one of the grottiest gearboxes I have ever seen in for a rebuild so that seemed like a good test.

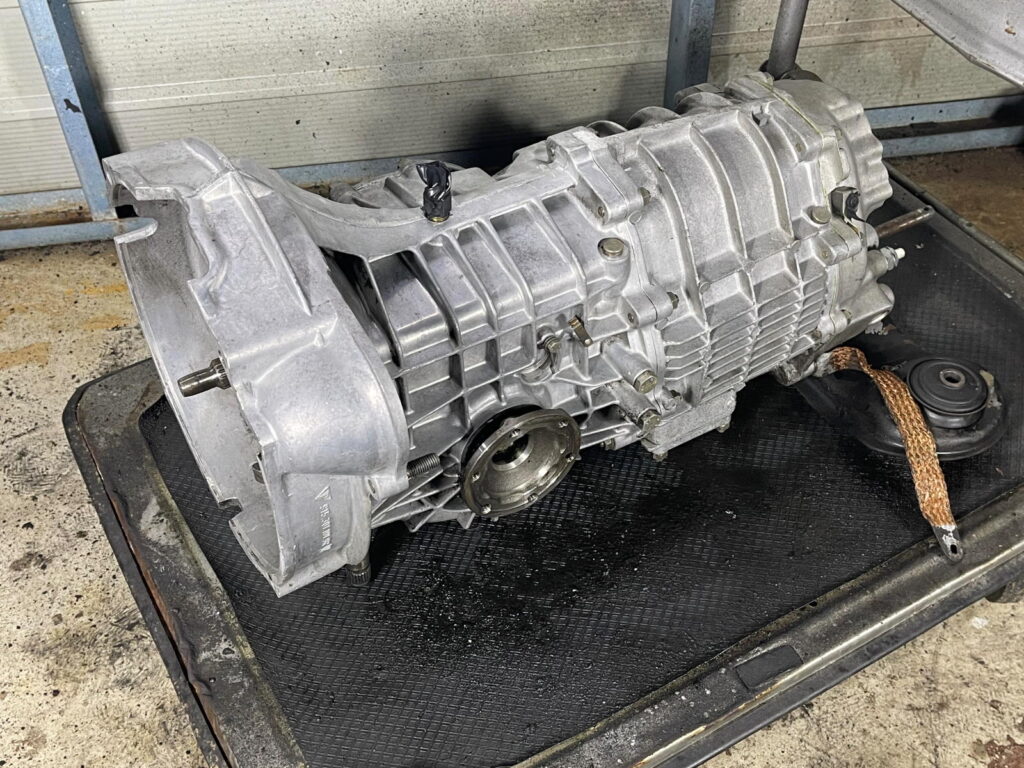
A picture tells a thousand words. What these photos don’t show are how long it took to get to the clean stage. Even though my compressor is 24hp, the going was relatively slow, the blaster is incredibly loud and it sucked down the expensive ice like… well, like the spec sheet said it would.
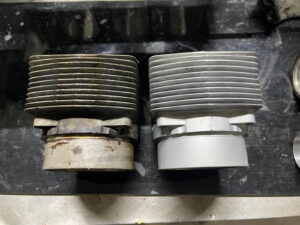
For parts that are about to be rebuilt, my existing wet / vapor blaster rips off dirt and grease in a fraction of the time. An example is below showing a pre-clean of some hubs and cylinders and then the final clean before assembly. The finish from the wet blaster just can’t be beaten…
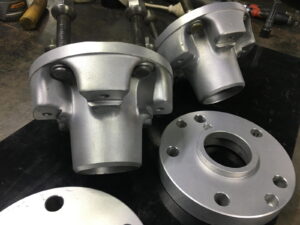
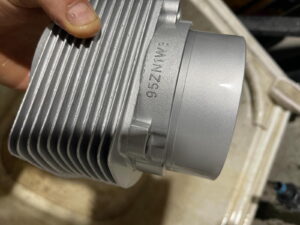

When I Cerakote parts or have to prepare a surface for another coating system, the bead blaster is equally fast which makes the job cheaper and less painful…
There are plenty of items that do not suit abrasive media cleaning however. For the few items with small oil passages, the options I have are soda blasting, a hot wash tank and a heated industrial ultrasonic cleaner that is big enough to fit an engine case in. They all have their drawbacks – maybe there isn’t a perfect solution.
Dry ice basting really does excel for general cleaning and detailing, particularly in areas that you want to avoid water or chemicals. I only trialed a unit for a few days so I still have a few questions about its capabilities but I already can see some advantages over some of my existing processes. Maybe some fine tuning would make the cleaning faster and more aggressive. The big question is whether the cost of purchasing the unit, plus feeding it, plus the logistics of getting and storing the ice is worthwhile…
I do like things to be clean though.
by Promotive

It has been groundhog day here for too long but finally one of the long term projects is finally coming to an end! The Ivory White RSR replica has been engineered and safety inspected – ready to be registered and let loose on the the road! It was pretty amazing to see the protective tapes pulled off the windows and see the paint work glisten. The car is not even slightly recognisable from its previous life as a 993 bodied turbo track hack…
The engine sounded fantastic as it was loaded up on the dyno. After careful tuning, I had some great video footage of it making a bit over 380hp each run. I only just realised that I hadn’t actually downloaded the footage from the camera before formatting the memory card! Unbelievable! (Or maybe not in my case…) I will actually get a decent video together one day. Really!
After tuning the engine, we decided to make a new Tefzel wiring loom for the Motec engine management so the wiring was as hidden as possible. A deadheaded fuel system also keeps the engine bay clutter free by putting the regulator up the front of the car with the beautiful Fuel Safe fuel cell.
A few people have commented about the little filters we have used on top of the Jenvey throttle bodies. The normal stainless mesh is only good for keeping out rocks and small birds, so we added two layers of filter foam which is all retained by a hidden clip for easy maintenance. Which is lucky considering the average lawn mower would have more filter area. It is a necessary case of ‘form before function’…
The 993 Turbo calipers just squeeze under the 15 inch billet wheels by using a custom hat on the front and an appropriate sized rotor. The front strut lengths and geometry was all changed to suit the smaller TB15 tyre diameter, and I hid the brake cooling hose inlet behind the standard horn grille to maintain the understated look…
An understated look doesn’t really describe the seats though… Or the knobs for the gear stick or hydraulic handbrake… And it is strange seeing normal seat belts in a car that will be flung around on track days but the race harnesses will be clipped in later.
The old 911 has been corner weighted and wheel aligned ready for its first drive if only it would stop raining…
There aren’t too many little jobs left now but it is amazing how long those last few jobs take!
by Promotive
Everyone needs a Cupcar at some time in their life!
And this is the perfect car to fulfil that need!
This GT3 Cup is a 2006 997 with a 2009 spec engine for more power. It has a good known history, fresh clutch, rebuilt sequential and good leakdown numbers on the engine. It is also spec’ed with a throttle blipper and comes with a few spares, wheels and an air spike. It can also be supplied with a really nice enclosed trailer! I will put some more photos of the car and trailer on the webshop.
This will be an economical track car and great value for money. To be honest, this car wouldn’t be leaving the shop if I had more space here!
Contact me for more details and pricing. You know you need this!
by Promotive
A lot has happened since the last update! I have been really slack in updating this website because I just haven’t been taking any quality photos… And I am just really slack. Bad and outdated photos will have to do.
The wiring on the white car has been completed with a full lightweight Tefzel loom connecting everything to the Motec M800 and Motec PDM power management. I have been installing a fair few of the PDMs in other air cooled 911s lately too – they really are a worthwhile addition! Aside from replacing all the fuses and relays in the car, there are many advantages such as CAN communication with engine management and switches, being able to prioritise circuits and choose what happens in a failure, control intermittent wipers and simple wiring of indicators and hazard lights. Even just being able to do simple things like deactivating the push button starter switch while the engine is running, or for that matter, being able to program the starter button to disable all unnecessary circuits like wipers and fans to take the load off the battery during cranking and have the engine crank until the engine fires up like a late model car is pretty cool and simple to do. I will go into the wiring details in another blog post one day…
We have squeezed 993 calipers on all four corners with two piece rotors up front by using billet 15 inch wheels to mount the TB15 tyres. The observant looking at the photos would possibly notice a hydraulic handbrake which I personally think is essential for clowning around in any 911 with too much rear grip. The RSR style from suspension was plated and retained so the only real changes were in the geometry, settings and spring rates. The MCA front struts are adjustable for length and spindle height so it makes my job that much easier!
So much effort went into the restoring the shell so I am trying to mount everything like the adjustable seat frames to standard mounting holes where possible. The day is coming very soon when I will have to finally mount the fabricated foot plates and drill some holes for nutserts in the floor. There was some good advice about that I think – something like measure once and drill twice? I can’t remember…
Now the car is back from the trimmer now I need to get the mounted in the engine bay again so I can fabricate the exhaust and then tune the 3.8L engine on my dyno. I drew up some GT3 style but cookie cutter inspired tips for inspiration but it really isn’t that easy to get fit a high flow, centre outlet muffler that is quiet enough in the limited space in a backdated car! Life would be so much easier if I just bought everything out if a catalogue and bolted it on, but then it would be just like the rest of the cars out there…
by Promotive
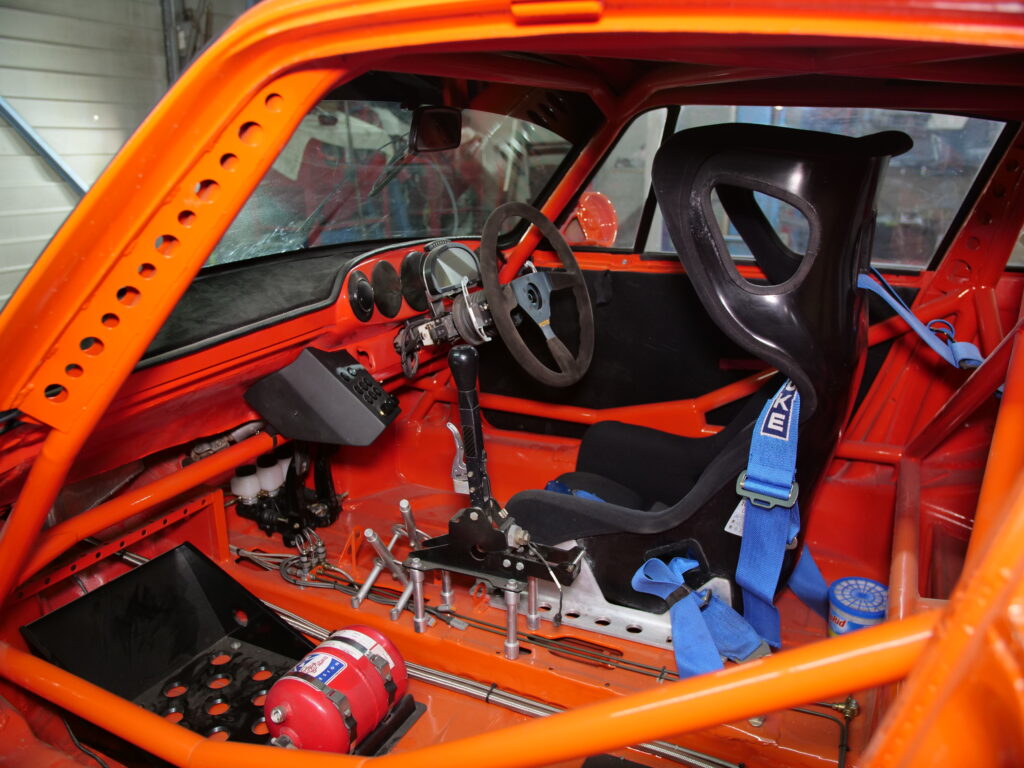
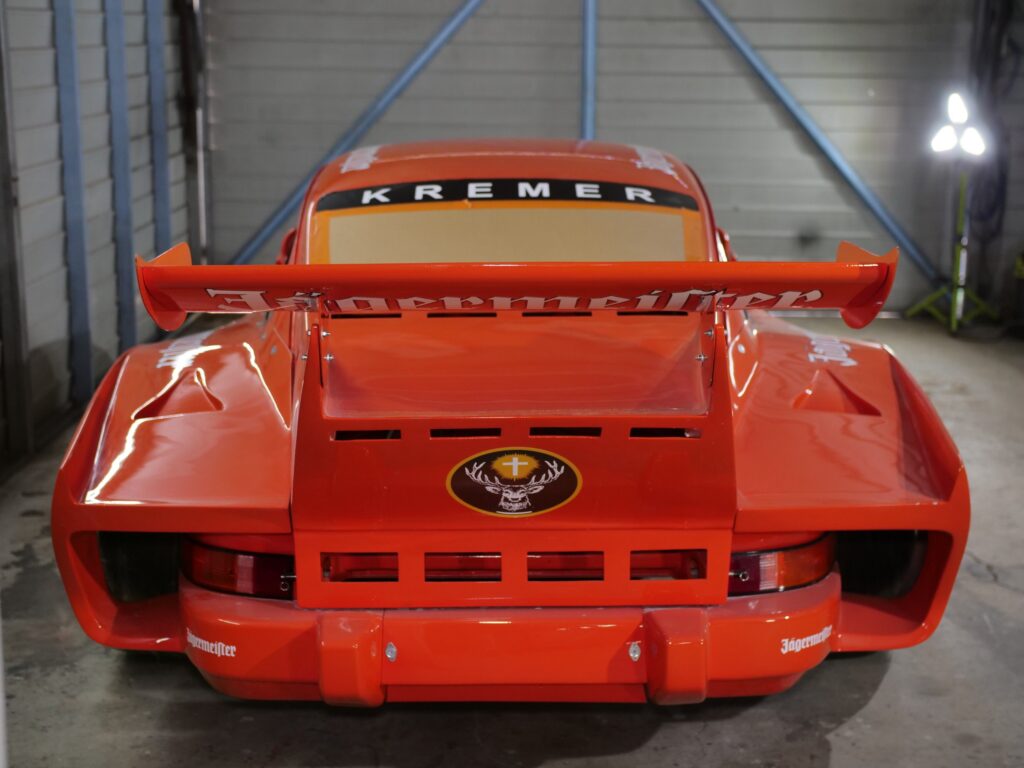
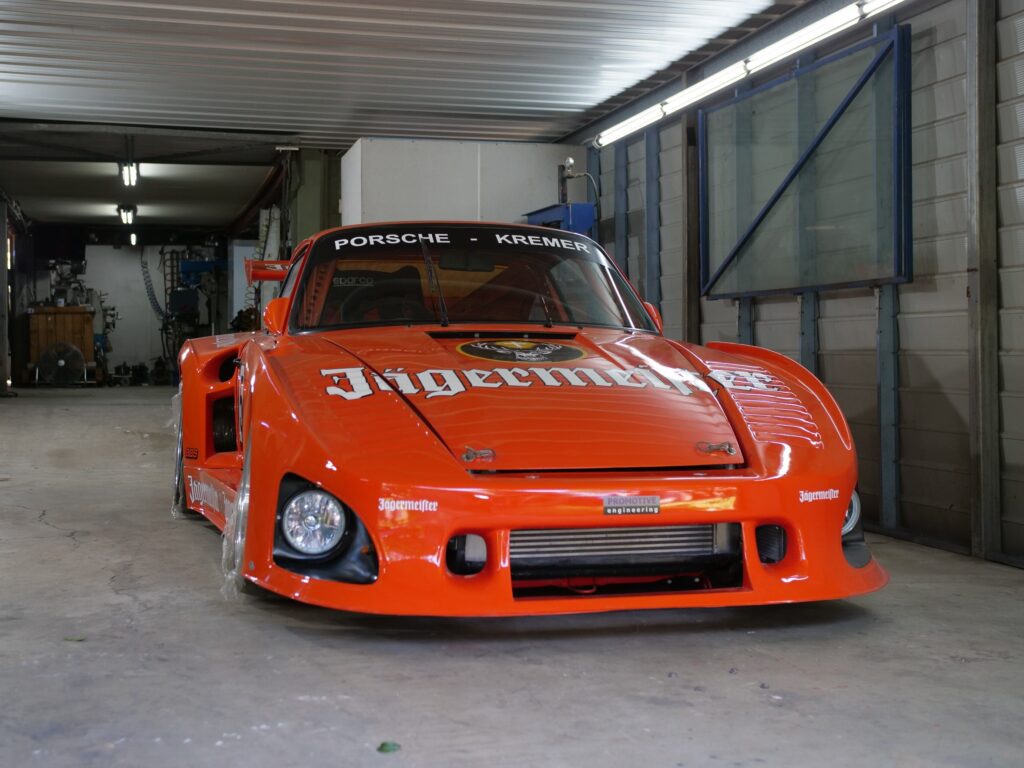
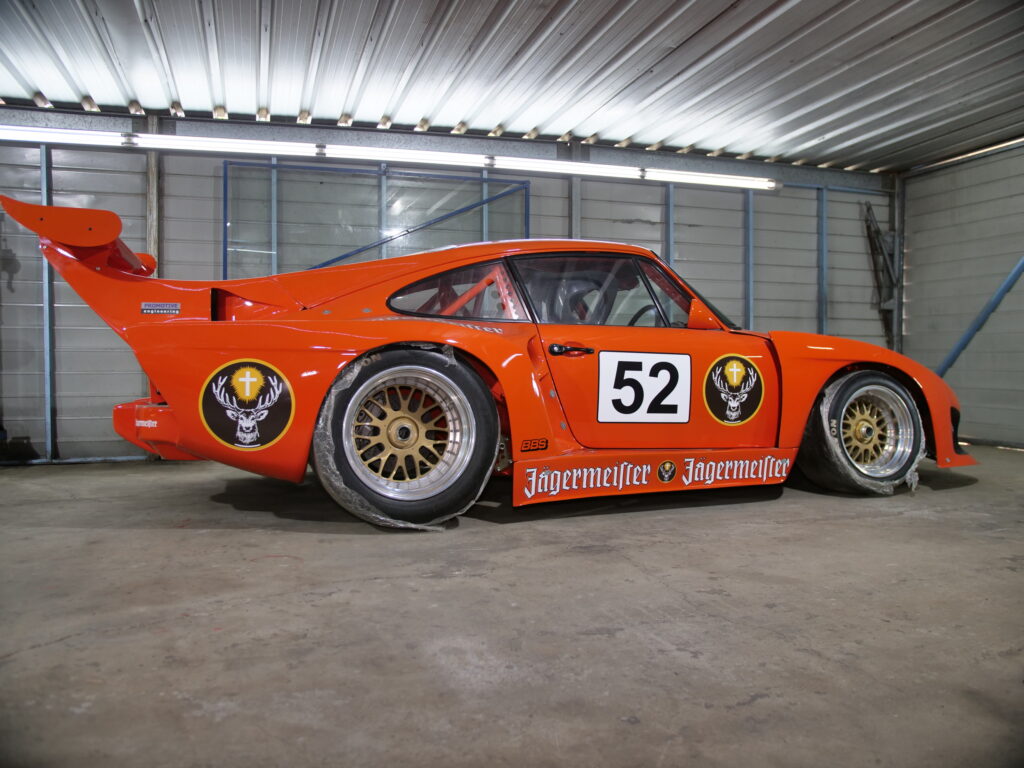
I was trying not to get distracted by the 935 replica. Doing a mock-up with the wheels was a very, very bad idea…
Finding a fantastic decal supplier (https://www.isaydingdong.co.uk/) that had all of the Jagermeister stickers in stock didn’t help either!
Just like the white RSR project that is just being finished up, the old pink car spend a lot of its life in the Porsche Cup just going round and round like a goldfish. The rules of the day said that carpets needed to be fitted so there is glue residue everywhere, but it seems that is was also mandatory to fabricate things as poorly as possible and have an illogical roll cage design. At least this shell is in amazing rust and accident damage free. The car is still on a CAMS logbook so I can’t do a lot with the roll cage without starting again. It isn’t what I would install now at least the design isn’t too bad.
I am not a huge fan of abrasive blasting because it is so hard to get rid of the residue, but it was really the only easy option in this case. There were so many holes in the floor and panels to fill in, and I have still haven’t worked out a good way of getting rid of glue. The added bonus was seeing everyone’s reaction reaction to the shell going down the road on the trailer. It really was more secure than it looked!
The car is looking great now that some colour has been applied. Once the roof has been in primer for a few weeks it can be blocked back and the outside of the shell painted. The nose clip has been painted and is ready to go on when the shell comes off the rotisserie. I was surprised that even though I can fit a twelve inch slick on the front, the nose is still narrower than the GT2.
Fitting the rear quarter panels are going to be as much fun getting a prostate exam so the car might be parked out of the way and against the will for a while. Putting the rear boots on really shows how wide the rear is!
by Promotive
Over the festive season I spent way too much time with that white powder up my nose. Yep, that fine fibreglass dust gets everywhere you don’t want it, and leaves you scratching like a crack addict for days. I am not sure how composite work became part of my job description but it seems really hard to be able to buy quality panels and parts off the shelf…
Many moons ago I tooled up for vacuum bagging and resin infusion when I was making all the parts for the aerobatic plane which included seats, instrument panels as well as the plug, moulds and ultralight weight skins and tail. The project took an inordinate amount of time just shaping, sanding and polishing but being able to switch off my brain made it quite cathartic and enjoyable.
Maybe the fond memories of that project are actually due to a cognitive impairment due to all of the nasty chemicals and dust. Having to repair the panels that were purchased for some of the current projects has been far from enjoyable and really slowing progress! It seems that buying body kits from the US is like a lottery and I am yet to have a win…
I knew the rear quarter panels for the GT2 project needed to be widened from the start. The only commercially available panels we could find were ones to suit the 996 RSR narrow body. That challenge was accepted, the complete kit ordered and I grabbed some two pack foam so I could so some sculpting. What I wasn’t expecting is the one quarter panel to be 13mm shorter than the other and so many pinholes and voids under the gelcoat in all the panels. It is a reasonably big job to mount the rear quarters, so having to spend so much time repairing the front panels that should bolt on with only minor fitting is frustrating! The massive Cup Car centrelock wheels and slicks are a really tight fit under the flares so the chassis needed to be wheel aligned first, the panels pulled into shape and the flare positioned in the correct position before foam filling. The fit is actually so tight that the old smaller diameter Cup tyre needed to be fitted up for alignment as the 710 diameter wouldn’t fit inside the flare… At least the bulk of the work is done now and the mould is made. All the work to make the massive Kardashianesque rear end is definitely worthwhile when viewed from behind! I am pretty slow updating my website so maybe the panels will be made and the car painted by the time I get around to uploading this blog. Maybe.
The 935 kit is even more of a nightmare. I didn’t have high expectations but it seems the moulds have aged as well as a tattoo on a geriatric. Considering it is a project that I am not supposed to be working on, I was hoping for an easier installation… The big one piece nose fitted up quickly but the other panels all need a fair fit of work before they will come close to fitting. The roof overlay bonded on relatively easily too but the back of it and one sill is was so warped that it it many layers of glass needed to be added before the excess was ground away. So much fibreglass dust!
The rear quarters are just going in the too hard basket for now. As can be seen in the photos, all the trimming in the world isn’t going to make them fit easily. I have tried leaving them fitted up for weeks in the sun, slicing them to relieve the stress where they are warped in the rear bumper bar segments and even praying to every god I could think of – but nothing changed… It is a pity that the vents are different from left to right too!
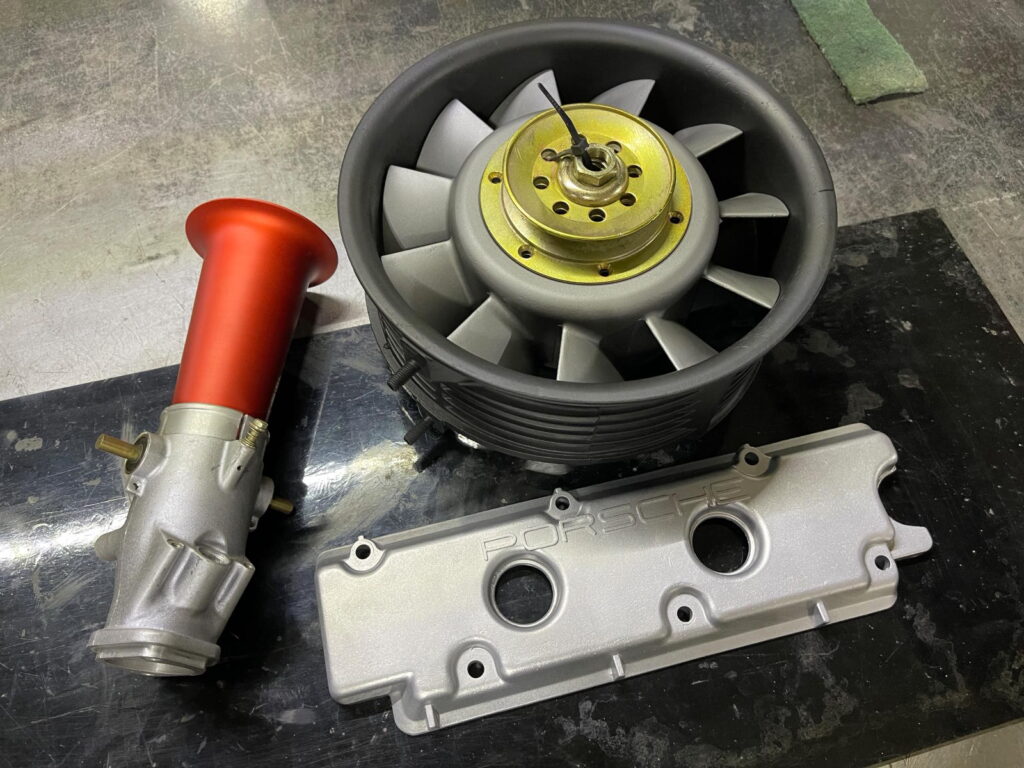
As I am writing this I am starting to realise why I got so many more grey hairs last year. Even the white RSR tribute has had its moments. Luckily I didn’t have to fit the massive rear flares because they were a veritable nightmare as well, but something that was seemingly as simple as ordering an amber fan shroud has turned out to be difficult. The normally aspirated 3.8L engine has been converted from a 3.6 Turbo so it has the rare combination of two bolt heads and a relatively unique fan housing. The deeper alternator means that no one seemed to be able to supply one. After getting the runaround from a US supplier that said they could make one, I finally couldn’t wait any longer and made the mould myself. I have vacuum bagged one sample but am not happy with the colour of the vinylester resin. At least making another one that is slightly more amber is a fairly painless process now.
by Promotive
It isn’t too often you get to see such an unmolested car like this one!
Unfortunately one of our customers has decided to put it up for sale! Here are some details:
Make: Porsche.
Model: 996 Turbo 2002.
Odometer: 92,945.
Transmission: 6sp manual, All Wheel Drive.
Colour: Arctic Silver (Paint is in excellent condition).
Interior: Black leather (in excellent condition as it has protective seat covers).
Engine: 6 cylinder Petrol Twin Turbo Intercooled 3.6 (stock unmodified).
Tyres: Front: Hankook about 85% tread left; Rear: Falken about 90% tread left.
Full service history & log books available.
The asking price is only $110,000 which is a bargain in this market! Contact me for more information or high resolution photos…
by Promotive
The GT2 has been moving ahead at a glacial pace! There is now a renewed push to get this car finished and on the track, so I dusted the cobwebs off the chassis and finished off the rear wing and engine mounts and a lot of those fiddly jobs that take so much time yet are never seen.
I decided to keep the turbos in a reasonably standard position but just make the headers so there was enough room for the external wastegates. It is a tight squeeze! There is just enough room so they don’t become intimate with the massive wheels when at full bump travel. It is simple and more efficient compared to the standard Turbo pipe work. The intercoolers have an o-ring seal onto the larger GT2 drive by wire throttle body to make mounting simple and the location is perfect to take advantage of the big roof mounted air scoop.
I am not looking to the next jobs of fabricating the fiddly firewall infill panels, replacing the firewall template with a carbon one with rear window, and then trying to work out how to mount the widened rear body work. It will be exciting to see it looking like a car again though!
by Promotive
The current 911 trend of backdating and Singer look makes life hard when you are also trying to squeeze a couple of turbos under a ducktail or electric wing. I am a huge fan of a normally aspirated engine with throttle bodies or flat slides, but sometimes you just need more power and bigger flames. With a Masters Degree is Tetris, you can get a decent size intercooler to fit without needing an aggressive tail (as seen in the photos below of previous projects). The problems are compounded when you are trying to increase drivability by using long intake runners, and then need to find room for an air conditioning compressor.
The other option is to use water to air intercoolers. These are quite effective in a road going 911 because there is enough thermal capacity in the system to sink the heat generated by relatively short bursts of power, and the average road speeds are less than on a circuit so where the airflow over an air to air intercooler comes into its own. A current project uses twin barrel intercoolers on a twin turbo 3.4 engine arranged so there is ample room in the engine bay for easy maintenance and an electric C2 wing. The base motor hasn’t been touched so there hasn’t been an opportunity to tidy the old muffler up and detail the engine. Unfortunately it is function before form on this build…
The engine is being run by the enormously capable Vipec Thunder ECU. That allows me to data logging everything from EGTs, dual lambda and every pressure and temperature we can think of. One advantage of having so many inputs and outputs on the ECU is being able to take over the control of the electric tail to make it heat and speed dependant; and more importantly use a drive by wire throttle body. I try and use DBW on all the projects here these days, the simplicity in setting up traction control, and idle control make me look good! This engine had an old school throttle kicker for antilag so that was also eliminated and updated.
The easiest way to make everything fit nicely is to cut the manifold balance tube and reweld it on a shallower angle. The standard throttle body holes were welded up and redrilled to suit the 996 Turbo DBW throttle body which also has a larger butterfly. This 3.2 manifold had already been put on a flow bench to equalise the flow through the runners so the whole job was fast and painless. Just the way I like it!
One other upgrade we did while the engine was being rewired is ditch the old coil packs for the twin plug setup and update to coil on plug. These have plenty of spark energy for the amount of boost that this engine will run and clean up the engine bay.
This engine has a date with the engine dyno before it is put back in the car so I can see how efficient the barrel intercoolers are compared to other systems I have tried. We are going to continue of our fuel testing with this engine as well to show what a massive difference the ETS Racing Fuels make to power and throttle response….