Promotive Engineering

Porsche Motorsport Preparation Brisbane

  • About
  • Projects and Updates
  • Shop
  • Contact Us

Dry Ice Blasting?

May 11, 2020 by Promotive

I do like things to be clean. In a perfect world nothing would ever get dirty, but when the inevitable happens it is good to have the right tool for the job.

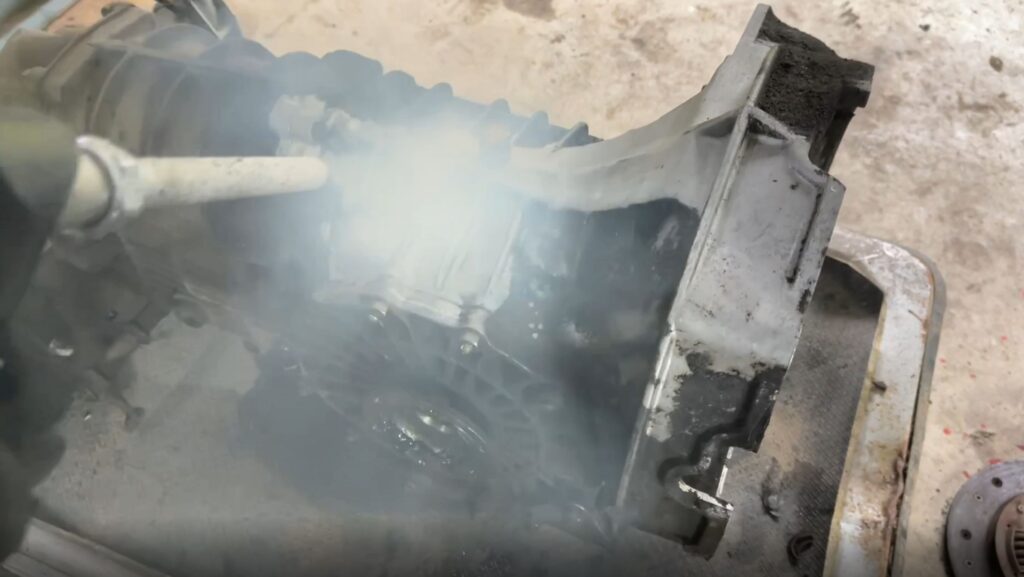
Dry ice blasting seems to be all the rage at the moment so I grabbed a demo unit to try around the workshop to see if I need one. At the time I think I had one of the grottiest gearboxes I have ever seen in for a rebuild so that seemed like a good test.

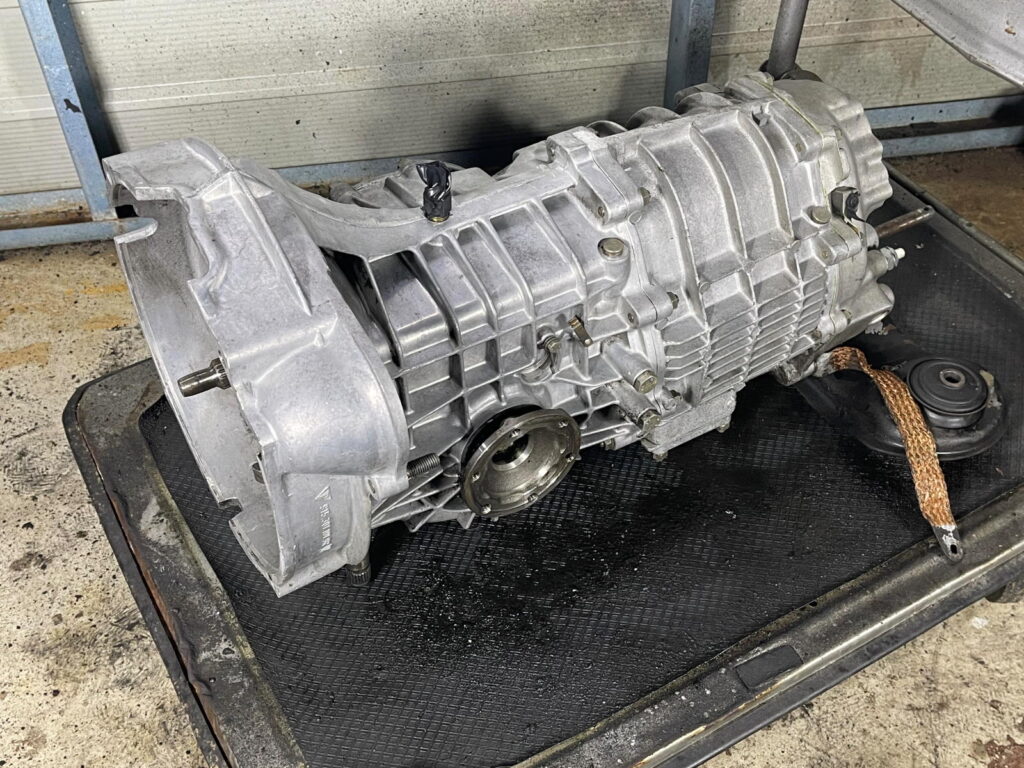
A picture tells a thousand words. What these photos don’t show are how long it took to get to the clean stage. Even though my compressor is 24hp, the going was relatively slow, the blaster is incredibly loud and it sucked down the expensive ice like… well, like the spec sheet said it would.

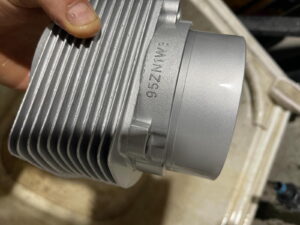
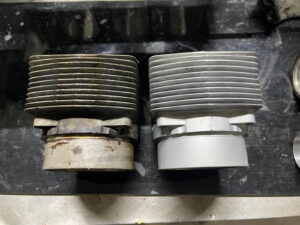
For parts that are about to be rebuilt, my existing wet / vapor blaster rips off dirt and grease in a fraction of the time. An example is below showing a pre-clean of some hubs and cylinders and then the final clean before assembly. The finish from the wet blaster just can’t be beaten…
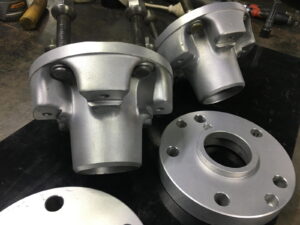
When I Cerakote parts or have to prepare a surface for another coating system, the bead blaster is equally fast which makes the job cheaper and less painful…
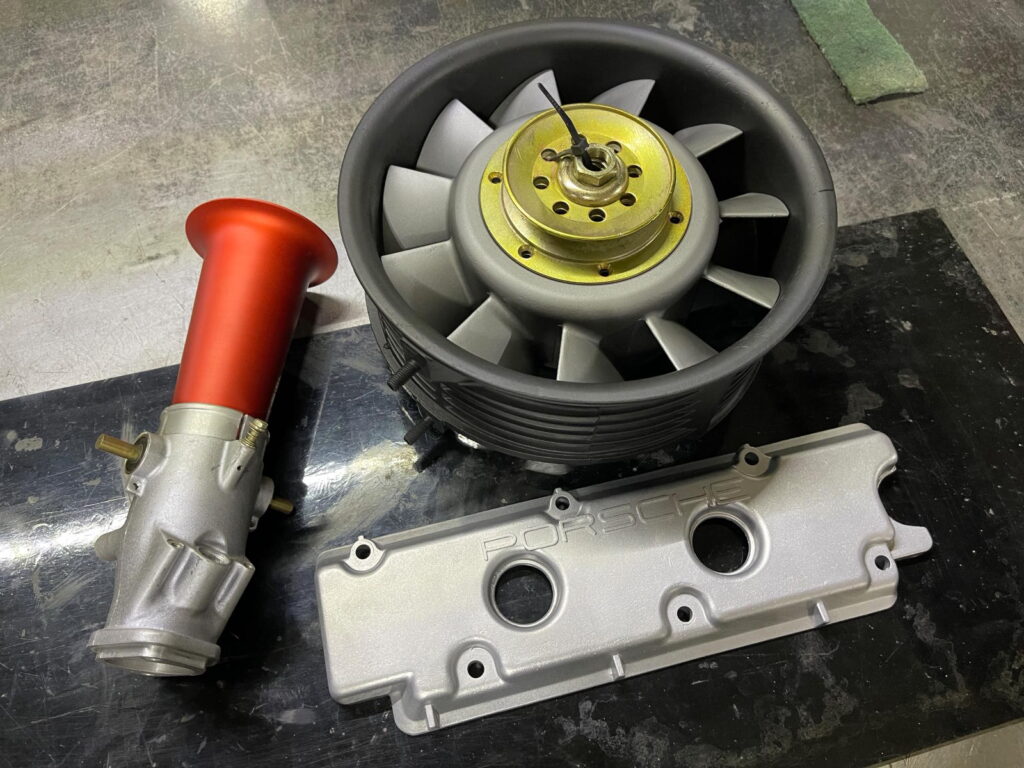
There are plenty of items that do not suit abrasive media cleaning however. For the few items with small oil passages, the options I have are soda blasting, a hot wash tank and a heated industrial ultrasonic cleaner that is big enough to fit an engine case in. They all have their drawbacks – maybe there isn’t a perfect solution.

Dry ice basting really does excel for general cleaning and detailing, particularly in areas that you want to avoid water or chemicals. I only trialed a unit for a few days so I still have a few questions about its capabilities but I already can see some advantages over some of my existing processes. Maybe some fine tuning would make the cleaning faster and more aggressive. The big question is whether the cost of purchasing the unit, plus feeding it, plus the logistics of getting and storing the ice is worthwhile…

I do like things to be clean though.
Filed Under: Porsche, Workshop

White Powder

January 5, 2018 by Promotive

Over the festive season I spent way too much time with that white powder up my nose.   Yep, that fine fibreglass dust gets everywhere you don’t want it, and leaves you scratching like a crack addict for days.  I am not sure how composite work became part of my job description but it seems really hard to be able to buy quality panels and parts off the shelf…

Many moons ago I tooled up for vacuum bagging and resin infusion when I was making all the parts for the aerobatic plane which included seats, instrument panels as well as the plug, moulds and ultralight weight skins and tail.  The project took an inordinate amount of time just shaping, sanding and polishing but being able to switch off my brain made it quite cathartic and enjoyable.


Maybe the fond memories of that project are actually due to a cognitive impairment due to all of the nasty chemicals and dust.  Having to repair the panels that were purchased for some of the current projects has been far from enjoyable and really slowing progress!  It seems that buying body kits from the US is like a lottery and I am yet to have a win…

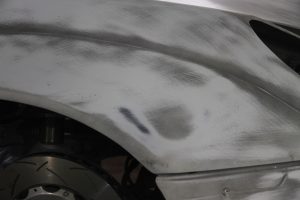
I knew the rear quarter panels for the GT2 project needed to be widened from the start.  The only commercially available panels we could find were ones to suit the 996 RSR narrow body.  That challenge was accepted, the complete kit ordered and I grabbed some two pack foam so I could so some sculpting.  What I wasn’t expecting is the one quarter panel to be 13mm shorter than the other and so many pinholes and voids under the gelcoat in all the panels.  It is a reasonably big job to mount the rear quarters, so having to spend so much time repairing the front panels that should bolt on with only minor fitting is frustrating!  The massive Cup Car centrelock wheels and slicks are a really tight fit under the flares so the chassis needed to be wheel aligned first, the panels pulled into shape and the flare positioned in the correct position before foam filling.  The fit is actually so tight that the old smaller diameter Cup tyre needed to be fitted up for alignment as the 710 diameter wouldn’t fit inside the flare… At least the bulk of the work is done now and the mould is made.  All the work to make the massive Kardashianesque rear end is definitely worthwhile when viewed from behind!   I am pretty slow updating my website so maybe the panels will be made and the car painted by the time I get around to uploading this blog.  Maybe.


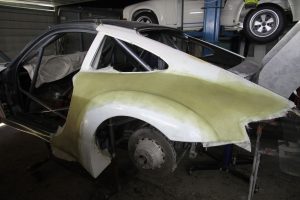
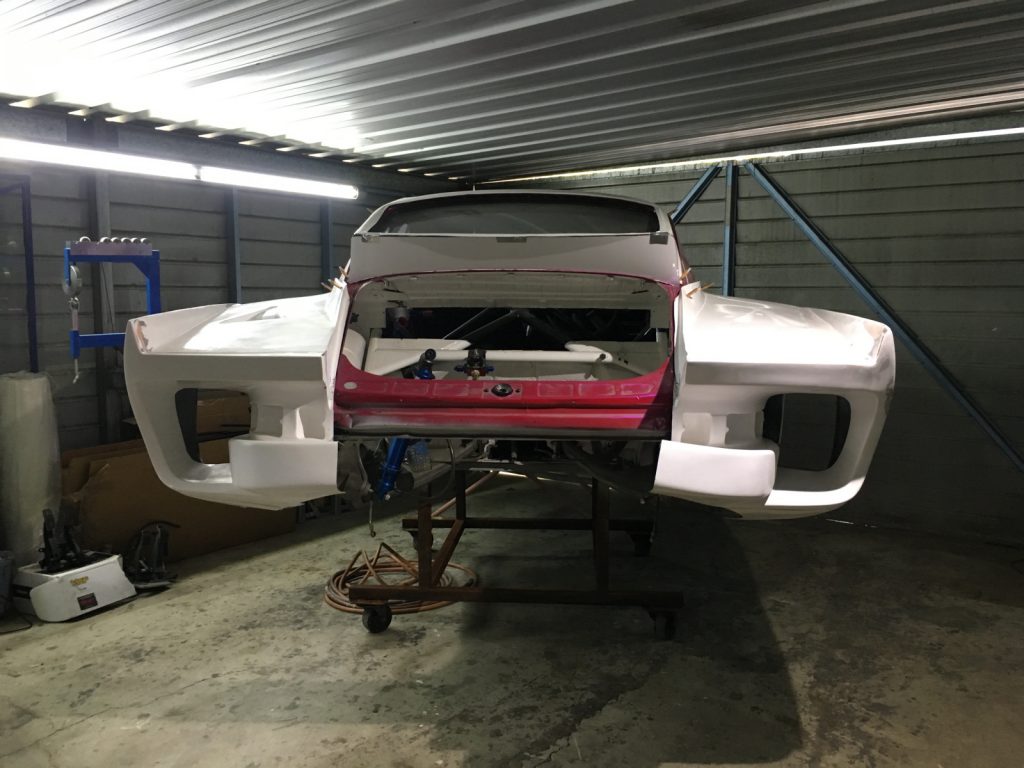
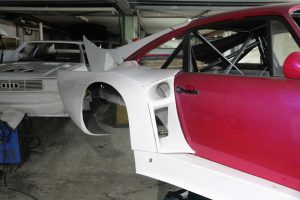
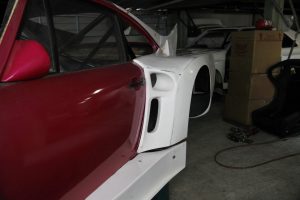
The 935 kit is even more of a nightmare.  I didn’t have high expectations but it seems the moulds have aged as well as a tattoo on a geriatric.  Considering it is a project that I am not supposed to be working on, I was hoping for an easier installation…   The big one piece nose fitted up quickly but the other panels all need a fair fit of work before they will come close to fitting.  The roof overlay bonded on relatively easily too but the back of it and one sill is was so warped that it it many layers of glass needed to be added before the excess was ground away.  So much fibreglass dust!

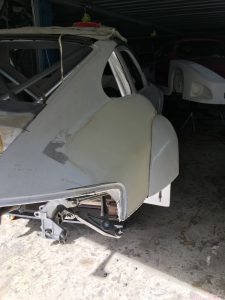
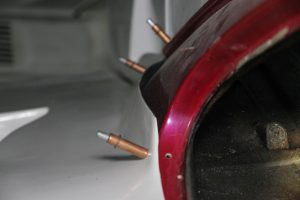
The rear quarters are just going in the too hard basket for now.  As can be seen in the photos, all the trimming in the world isn’t going to make them fit easily.  I have tried leaving them fitted up for weeks in the sun, slicing them to relieve the stress where they are warped in the rear bumper bar segments and even praying to every god I could think of – but nothing changed…  It is a pity that the vents are different from left to right too!


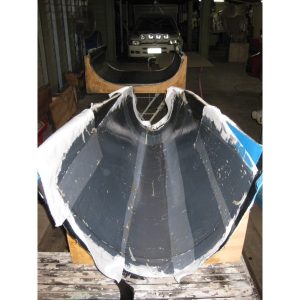
As I am writing this I am starting to realise why I got so many more grey hairs last year.  Even the white RSR tribute has had its moments.  Luckily I didn’t have to fit the massive rear flares because they were a veritable nightmare as well, but something that was seemingly as simple as ordering an amber fan shroud has turned out to be difficult.  The normally aspirated 3.8L engine  has been converted from a 3.6 Turbo so it has the rare combination of two bolt heads and a relatively unique fan housing.  The deeper alternator means that no one seemed to be able to supply one.  After getting the runaround from a US supplier that said they could make one, I finally couldn’t wait any longer and made the mould myself.  I have vacuum bagged one sample but am not happy with the colour of the vinylester resin.   At least making another one that is slightly more amber is a fairly painless process now.

Filed Under: 935 K3 Replica, Porsche, Workshop

Reverse Engineering with Ease (Relatively speaking)

September 10, 2016 by Promotive

The 3D printer has been fantastic for prototyping and checking CAD parts before I send them to the CNC for production.   It has saved countless hours on designing parts like the roller tip rockers for the Lycoming engine.  Changing motion ratios and optimising the tip geometry couldn’t have been done easily or as quickly any other way without a complete and accurate 3D model of the cylinder and other critical parts.

The parts still needed to be created on CAD with no accurate reference to the original part.  Until now!  Parts like the standard Lycoming rocker couldn’t easily be measured with my digitising probe or the camera loaded into the CNC so I have been exploring other options…

lycoming-rockerlycoming-roller-tip


Metrology grade 3D scanning can easily be outsourced these days but the time and cost of relying on other companies is just painful – I haven’t had much luck with either!  After a bit of research and a few trials I settled on a fairly new release to the market which on specification seemed to fit my requirement nicely.

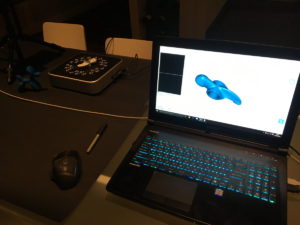
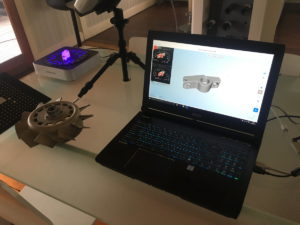
I haven’t had a huge amount of time to play with the scanner yet but the first results seem really promising, especially with the automated turntable.  I scanned in the standard Lycoming rocker to see the quality of the model which made measuring the standard angles and dimensions really easy.  As a test, I also scanned in one of my 3D printed roller tip rockers.  I sent the resulting model to the printer to compare the scanned model with the original and amazingly, there were no real differences that could be measured with a vernier caliper!   Pretty impressed with that!  The advertised resolution drops off when scanning larger parts like body panels but I haven’t tried that yet.

911-head

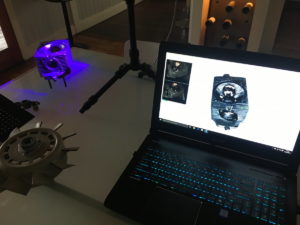
I tried a twin plug 911 head that was lying around to see if my dreams of easily making a billet head were going to come true, but it seems there isn’t a lazy option with the complex geometries.  The resolution is amazing with the texture camera.  You can see every little surface mark, but I really need spend a bit more time with the scanning technique.  It looks a lot easier in the sales video!  What they don’t also tell you in the sales video is that after the initial purchase, you need to spend the equivalent cost of a car again on yet more software to make it easier to create the solid model from the scanned model so the scan is useful for actual reverse engineering.  Otherwise it is only really good for making high resolution bobbleheads and simple changes to existing parts.

I know there are a few motorsport teams that are using this scanner now so it will be interesting to see how it works out for me!


Filed Under: Products, Workshop Tagged With: 3D printing, 3D scanner, Fabrication, Technology

Dyno upgrades

July 2, 2015 by Promotive

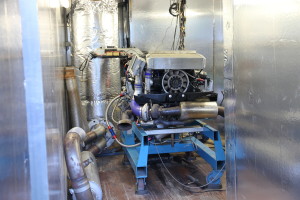
I have been busy lately on a few big builds and have managed to find some time to do some upgrades to the engine dyno that I have been wanting to do for too long.  While some of the upgrades are purely practical and allow engine changes to be quicker, I have also added significant over capacity to the cooling system to engine temperatures can be optimised.   engine on dyno

I have become really interested in the fuel testing lately and comparing different race fuels.  I have added a flex fuel sensor to the dyno now which show how the ethanol content some of the cheaper competitors race fuels have and the consistency (or lack thereof!) !  It is a cheap way for them to increase knock resistance but it isn’t the best way of producing power…

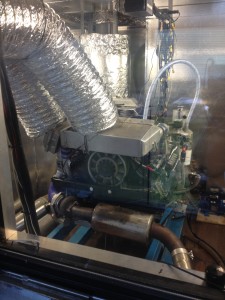
dyno windowI have upgraded the knock sensing in the cell as well.  In addition to the two channel Vipec knock amplifier and headset, I have added a dedicated vibration sensing module.  It is now easier to fine tune the knock sensors on a setup so there is less false readings and make it easier and faster to setup individual cylinder tuning.  The new system will also analyse the vibration signature of an engine over time (FFT) and will show well balanced the engine is and the point of the imbalance.  By looking at the spectral analysis you can distinguish the imbalance from a weak cylinder, a clutch or the cooling fan etc.  Cool stuff!

Just need a more room on the console for all the readouts and instrumentation now!  Maybe a lounge chair as well.


Filed Under: ETS Fuel, Porsche, Workshop Tagged With: Dyno tuning, ETS Fuel, Technology

What is that burning smell?

April 6, 2015 by Promotive

They say that technology is here to save time.  I have a lot of technology so why do I never have any spare time?

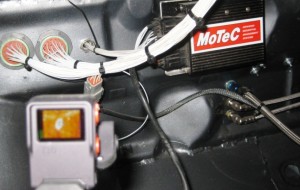
Anyway, the other day, after commissioning the new wiring loom in the classic rally car that is being entered in the Australian Rally Championship I noticed something wasn’t quite right…  No smoke or anything dramatic but there was a problem in the loom somewhere.  It was a bit strange considering that the harness had been tested prior to powering it up.

Using FLIR with wiring

Anyway, FLIR to the rescue!  No, not Fleur, a girl I used to know years ago, but the thermal imaging type of FLIR.  It is really becoming a handy tool around here.  The heat signature from the plug showed that the problem was a defect in one of the new aftermarket tail lights.  A simple fix to a problem that could have taken a lot longer to find!

Now, why doesn’t this technology save any time?  Once you get a new toy you spend too much time playing with it!  Predator style vision is so cool!

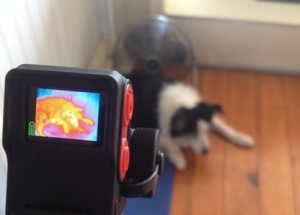
FLIR dog

 I was going to make a comment about a ‘hot dog’ but that would just be silly…


Filed Under: Rally, Workshop Tagged With: Technology

  • About
  • Projects and Updates
  • Shop
  • Contact Us

Copyright © 2025 · Parallax Pro Theme on Genesis Framework · WordPress · Log in